Cardiopulmonary Resuscitation (CPR) is a very effective technique that can save lives in an emergency. Although CPR on a drowning victim is fairly easy, knowing the proper way to perform it will help you control panic. Understand and follow these simple steps to perform CPR effectively and make any water body a safe place for everyone.
Performing CPR serves two purposes: The compressions keep the brain cells from dying and help the heart send the oxygenated blood throughout the body. By performing CPR, you’re essentially doing the heart’s work of regulating a normal blood flow.
CPR takes time to be effective, and hence, you should not stop even for a second while performing it.
The first thing you need to do is ask for additional help—ask the people around you for help, call an ambulance, or have someone call the hospital if necessary. Keep someone with you for any additional help. In such critical conditions, you should not hesitate to reach out to others. After all, it is a matter of life and death.
After rescuing them from drowning, the first thing you should do is to carefully lay them on a plane surface to ensure no additional injury to them while you provide CPR. Assess the situation and call or make someone call for help.
Before giving CPR, tap on their shoulder a few times and ask them, “Are you ok?”. Shake them well and see if they’re conscious. It may save some time if the condition is not severe.
Check the victim’s breathing and pulse to detect any blockage in the airway or circulation.
Press the head area down and raise the chin up to ease their airway. This will help ensure a steady and continuous airflow.
You should administer the rescue breaths and start chest compressions rhythmically. Thirty chest compressions after two rescue breaths are considered a standard. To administer the breaths, start by tilting the head towards the back, raising the chin, and pinching the nose so that the air doesn’t escape through it. Administer two breaths via the mouth: Place your mouth over the victim’s to make a seal, and start blowing air in a way that elevates their chest up.
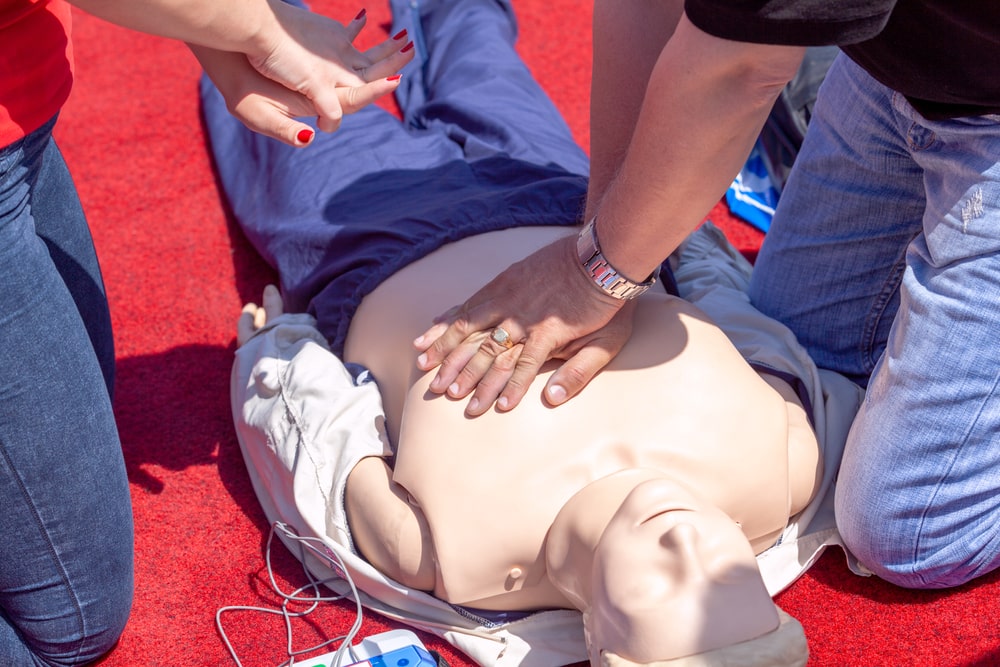
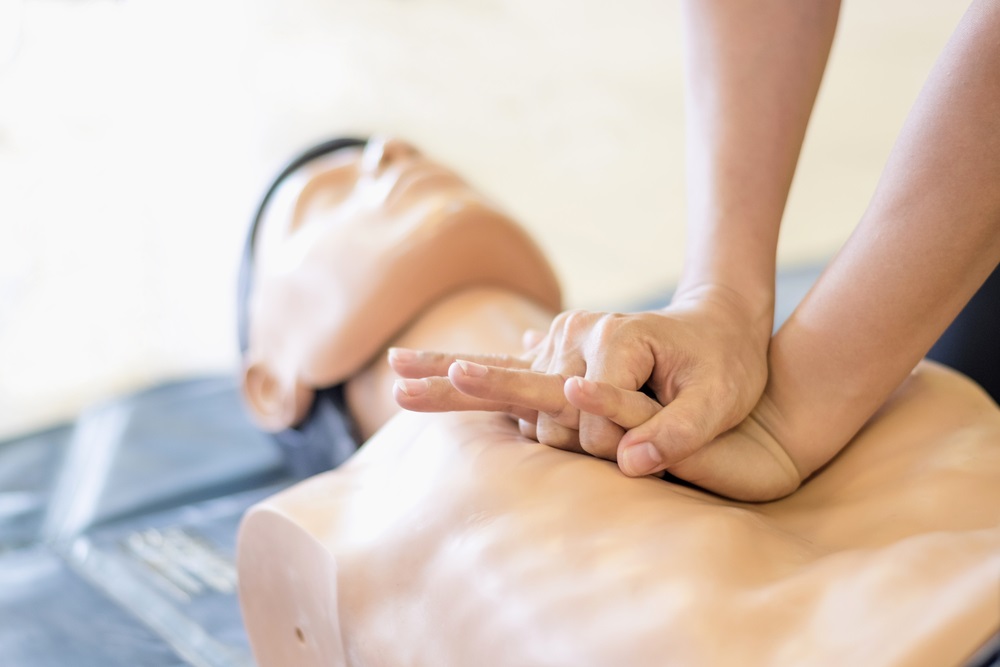
After finishing the breath transfer, quickly start chest compressions. It would be best to do chest compressions in sets of 30 at a time and a rate of 100-120 per minute. Push 5-6 centimeters or 1-2 inches at a time. Pushing down at least an inch allows the heart to squeeze and pump blood in and out. Pushing deep will ensure blood flow throughout the body and brain. Also, let the chest completely rise between the subsequent pushes. Keep a two-breath administration difference between the two sets. Ideally, you should keep a 10-second difference between chest compressions and breath transfer.
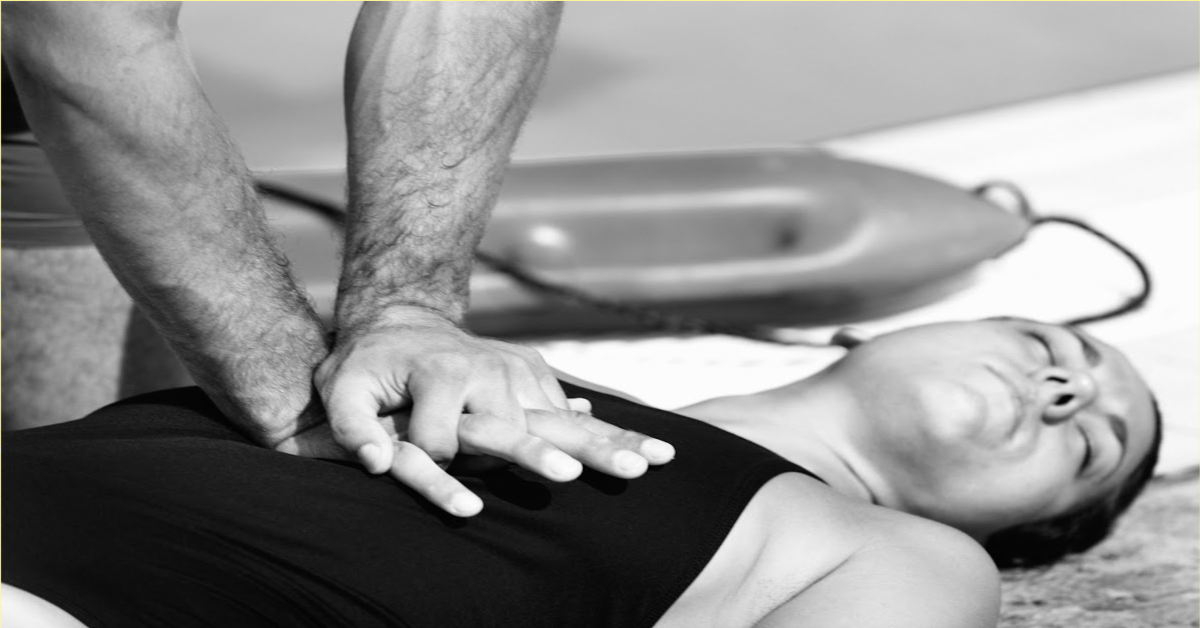
To perform chest compressions, place your one hand flat in the middle part of the victim’s chest and put your second hand on top of that. And start pressing at a speed at which the difference between two consecutive compressions is less than one second. Check in between to see if they have begun to breathe.
After some time, you may see some vomit coming from the victim’s mouth. It is completely normal, and you should tilt their head sideways to ease out these food particles. In case you feel something is stuck in their mouth, you should remove it with your fingers and start the process over again. Continue the cycle unless the person starts breathing or until the arrival of emergency help.
If you have any spare clothing, cover them with it, and if they show signs of consciousness and start breathing, talk to them and ensure that medical help is on its way.
With all these instructions, we hope you’re now ready to provide CPR with HLTAID009 or HLTAID001. You should practice it as much as possible to be prepared if the need arises.